Resistor bank setup for iCharger

Resistor bank setup for iCharger DUO

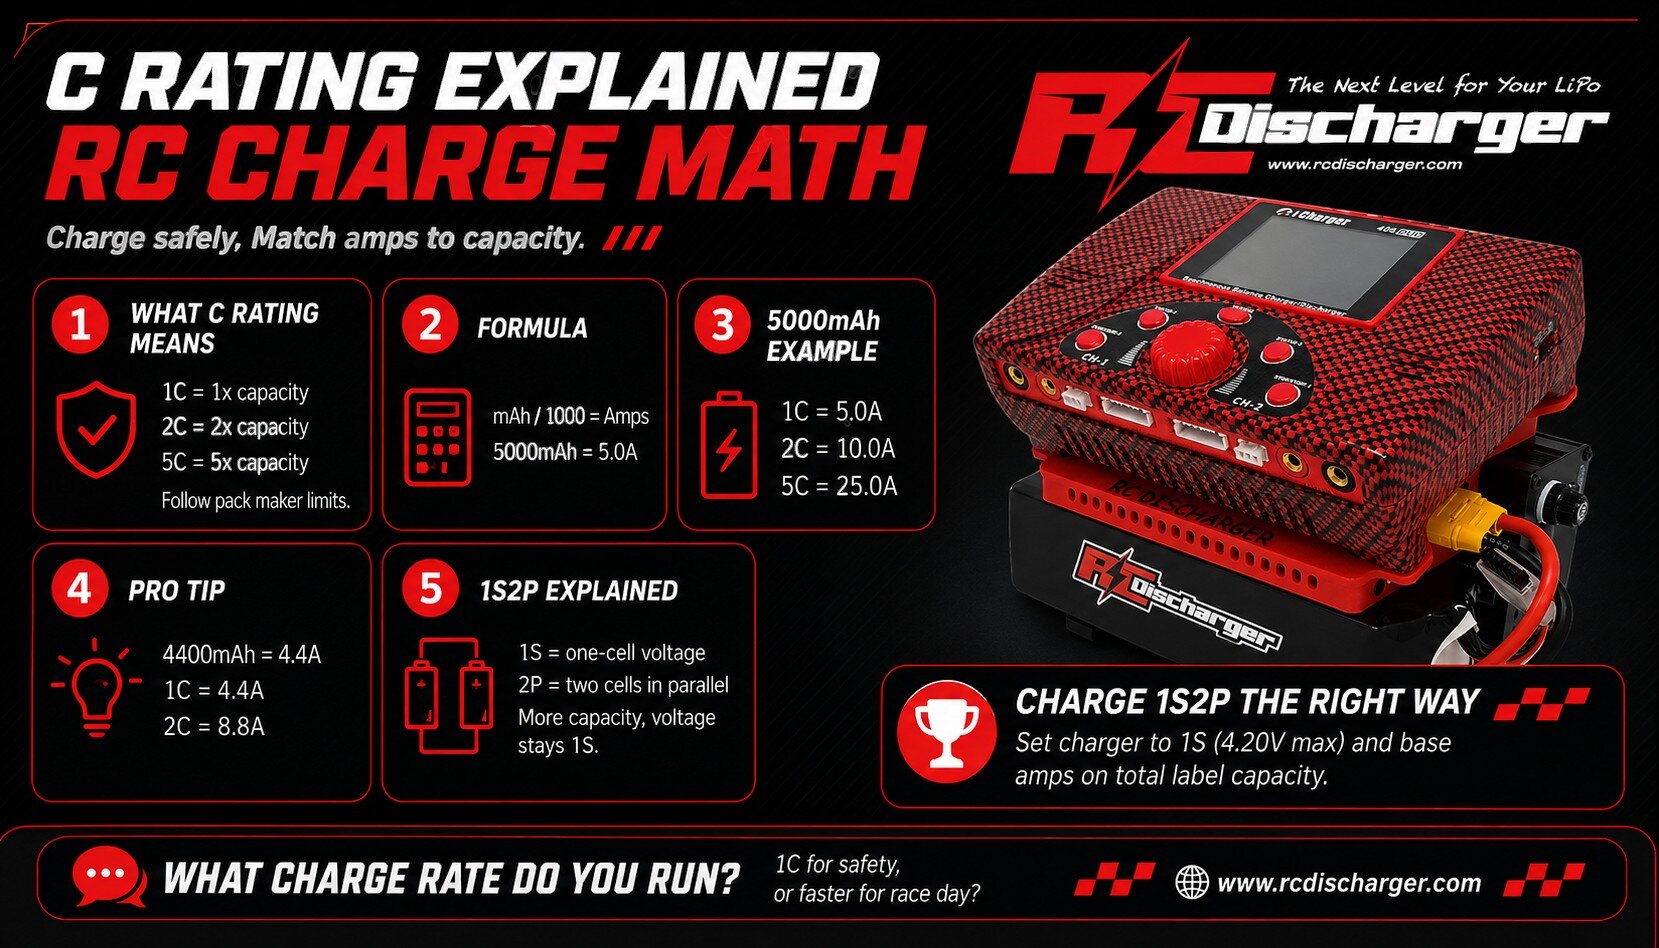
Resistor bank setup starts with correct wiring and the right menu choices on your iCharger DUO. Therefore, you get repeatable 40A pulls and cleaner battery data. Moreover, you gain better punch and more consistency on race day.

First, use this method on iCharger DUO models like 308DUO, 406DUO, 4010DUO, 456DUO, 458DUO, and 4512DUO. Next, plan your bench for airflow and safe cable routing. Consequently, you avoid heat soak and reduce voltage drop during high current runs.

Step-by-step configuration for 40A

Before you start, confirm your firmware version and match balance leads to your pack type. Additionally, place the resistor bank where it can shed heat away from your batteries. Then, follow these steps in order for stable results.

  1. Physical connection: Connect your resistor bank to Port #2 of your iCharger DUO.
  2. Program mode: Open the menu and select Discharge under Program Mode.
  3. Regenerative mode: Scroll to Regenerative Mode and choose To Channel. As a result, the charger routes energy into the resistor bank on the other port.
  4. Calibrate (Channel Join): Tap SET to calibrate. Next, under Channel Join, confirm the iCharger reads Resistance or Bulbs.
  5. Voltage limit: Set Voltage Limit to 24V.
  6. Current limit: Set Discharge Current Limit to 40 Amps.
Why these settings improve your data

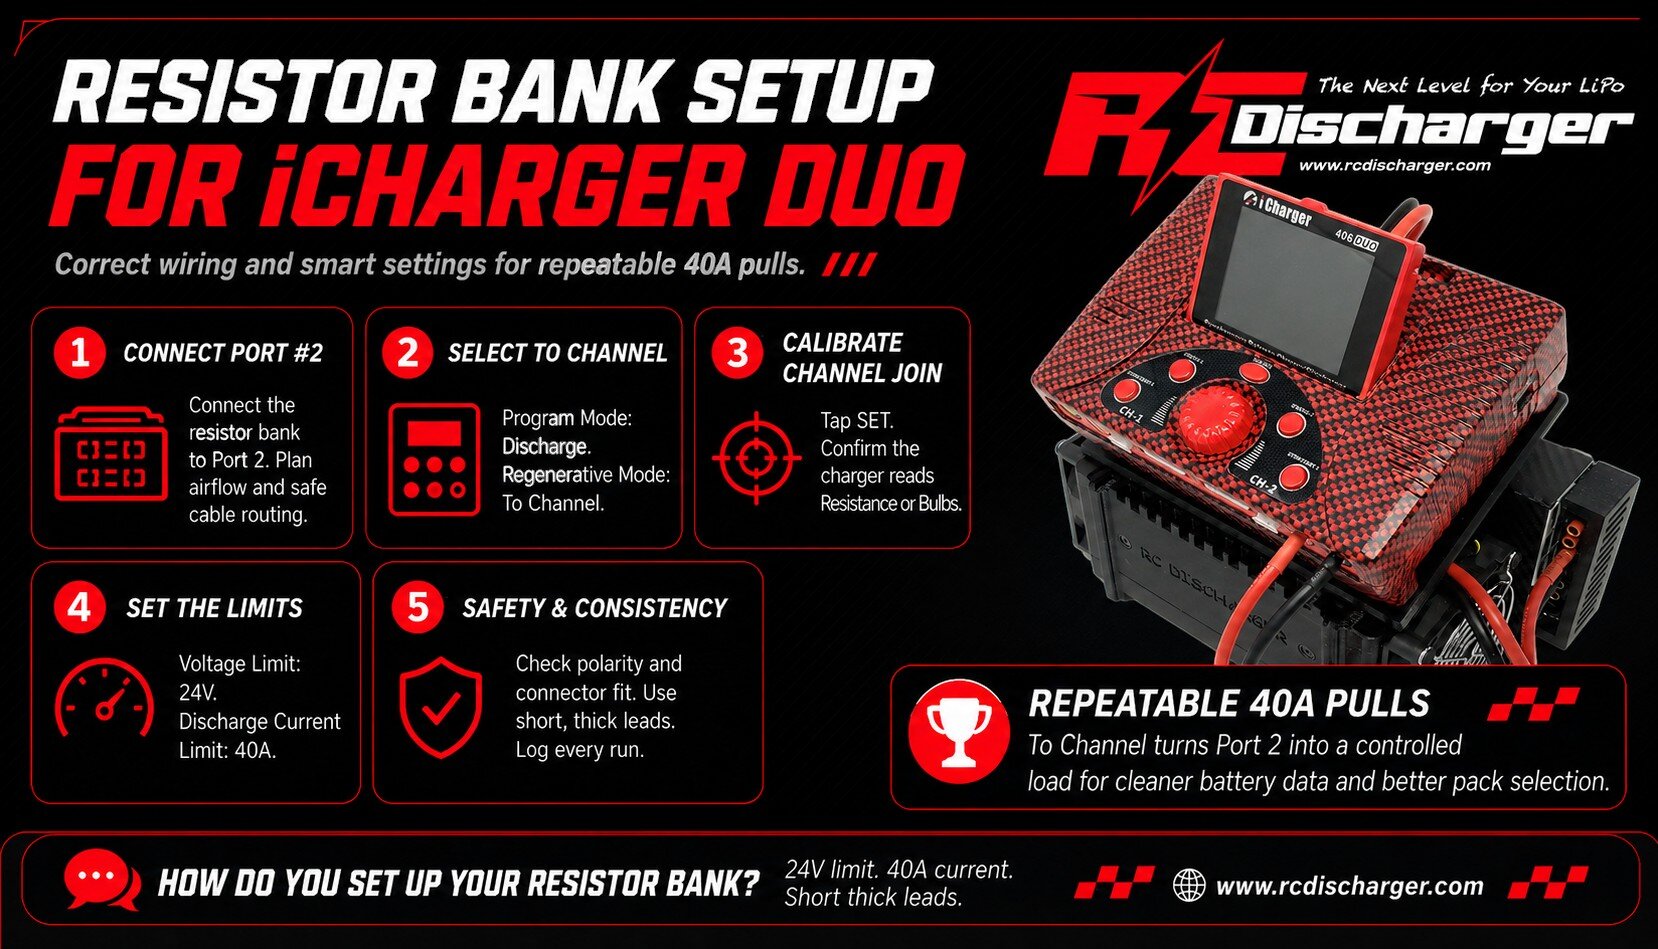
When you choose To Channel, you turn Port 2 into a controlled energy sink. Consequently, Port 1 pulls higher current through your race pack without hitting low limits. Moreover, your discharge curve matches race loads more closely, so your data helps you choose better packs.

In addition, 40A pulls expose weak solder joints, tired connectors, and undersized leads quickly. Therefore, you can fix resistance sources before race day and control voltage sag. Similarly, you can compare packs with the same method and spot the one that holds voltage longer.

Safety and consistency tips

First, check polarity and connector fit before you press Start. Next, keep the resistor bank ventilated and off carpet or foam. Also, stop the run if you smell hot insulation or see unstable current.

  • Use short, thick leads: Consequently, you reduce voltage drop and heat.
  • Log your runs: Then, you can compare curves across packs and days.
  • Keep pack temperatures consistent: Therefore, your results stay fair and repeatable.

Finally, if you want deeper background on how resistors convert electrical energy into heat, review resistor electrical load behavior before long, high-amp sessions. Ultimately, Resistor bank setup helps you test smarter, tune faster, and race with more confidence.
Reference image for Port 2 resistor bank wiring

iCharger SD card update guide

iCharger SD card update: no Windows needed

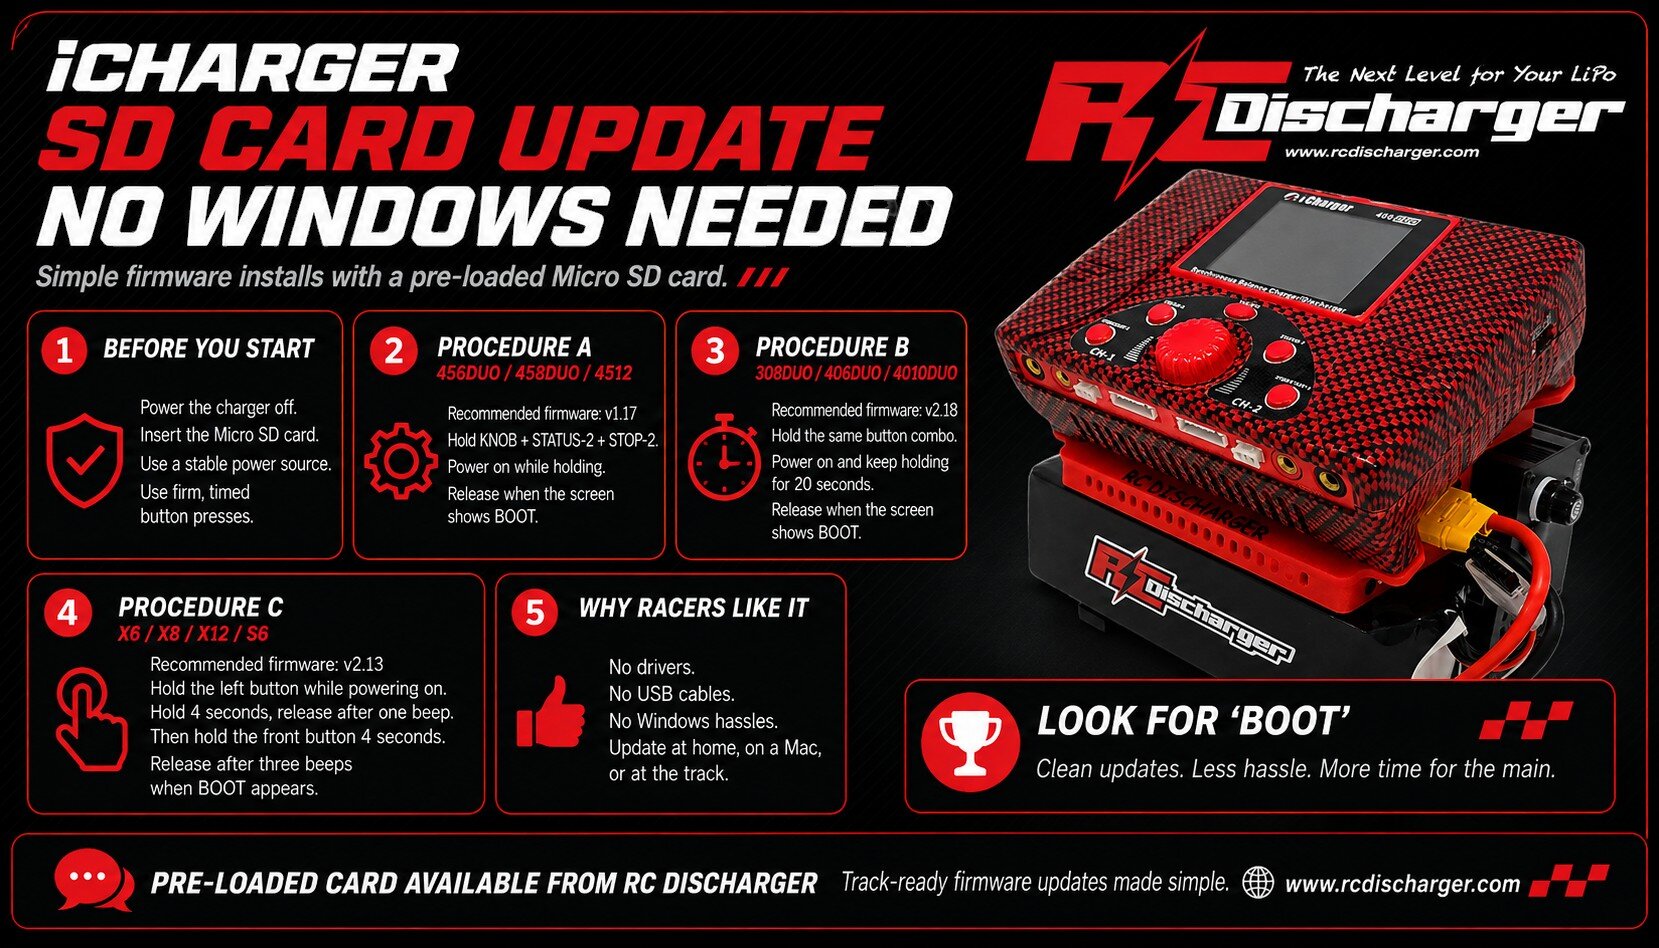
iCharger SD card update keeps firmware installs simple, even without Windows or USB drivers. Moreover, you can update at home, at the track, or on a Mac. Therefore, a pre-loaded Micro SD card helps you keep your pit routine fast. First, confirm your iCharger model and choose the matching steps below. Next, follow the order exactly to avoid a failed flash. Finally, set aside a few quiet minutes so you can focus.

Before you start

First, power the charger off before you insert the Micro SD card. Also, use a stable power source so the charger never resets mid-flash. In addition, press buttons firmly and keep the timing consistent. Consequently, the charger enters Boot mode and reads firmware from the card. For background, SD cards store data in flash memory for many devices. You can review Secure Digital card standards and formats for helpful context.

Procedure A: 456DUO, 458DUO, and 4512 series

Recommended firmware: v1.19

  1. Insert: Plug the RC Discharger Micro SD Card into your charger slot.
  2. The combo: Press and hold KNOB + STATUS-2 + STOP-2.
  3. Power up: While holding the buttons, power on the charger.
  4. Release: As soon as the screen changes and shows “Boot”, release the buttons.

Procedure B: 308DUO, 406DUO, and 4010DUO

Recommended firmware: v2.18

  1. Insert: Plug the RC Discharger Micro SD Card into your charger slot.
  2. The combo: Press and hold KNOB + STATUS-2 + STOP-2.
  3. Power & wait: While holding the buttons, power on the charger. Then keep holding for 20 seconds.
  4. Release: After 20 seconds, when the screen shows “Boot”, release the buttons.

Procedure C: X6, X8, X12, and S6

Recommended firmware: v2.13

  1. Insert: Plug the RC Discharger Micro SD Card into your charger slot.
  2. Press: Press and hold the button to the left.
  3. Power up: While holding the button, power on the charger. Then hold for 4 seconds, and release after one beep.
  4. Press: Next, press and hold the button toward you for 4 seconds.
  5. Release: After three beeps, the charger enters “Boot” mode. Then release the button.

Troubleshooting for a clean flash

However, if you do not see “Boot,” start over and re-check the button timing. Also, confirm you fully seat the Micro SD card in the slot. Additionally, use a known-good power supply so voltage stays steady. Meanwhile, if the charger restarts during the process, stop and fix the power issue first. Then repeat the steps from the beginning. As a result, you reduce the risk of a corrupted firmware load.

Get race-ready now

Now you can finish an iCharger SD card update with no drivers, no cables, and no Windows hassles. Additionally, fresh firmware helps you stay consistent through long mains and busy race weekends. Ultimately, a clean update process saves time when every round counts. In addition, the pre-loaded card removes guesswork, so you spend less time in the pits.

Get your pre-loaded card here: iCharger Firmware Update Micro SD Card | RC Discharger

LiPo battery safety for RC

LiPo battery safety for RC racing

LiPo battery safety starts when you treat every pack like race fuel. Therefore, you protect power, runtime, and your pit space. At RC Discharger, we want you fast and safe. Moreover, a simple routine helps you avoid swelling, damage, and fires.

First, build habits you repeat every race day. Next, watch voltage, time, heat, and charger modes. As a result, your packs stay consistent from practice to the main.

The “Never” rules: voltage and time

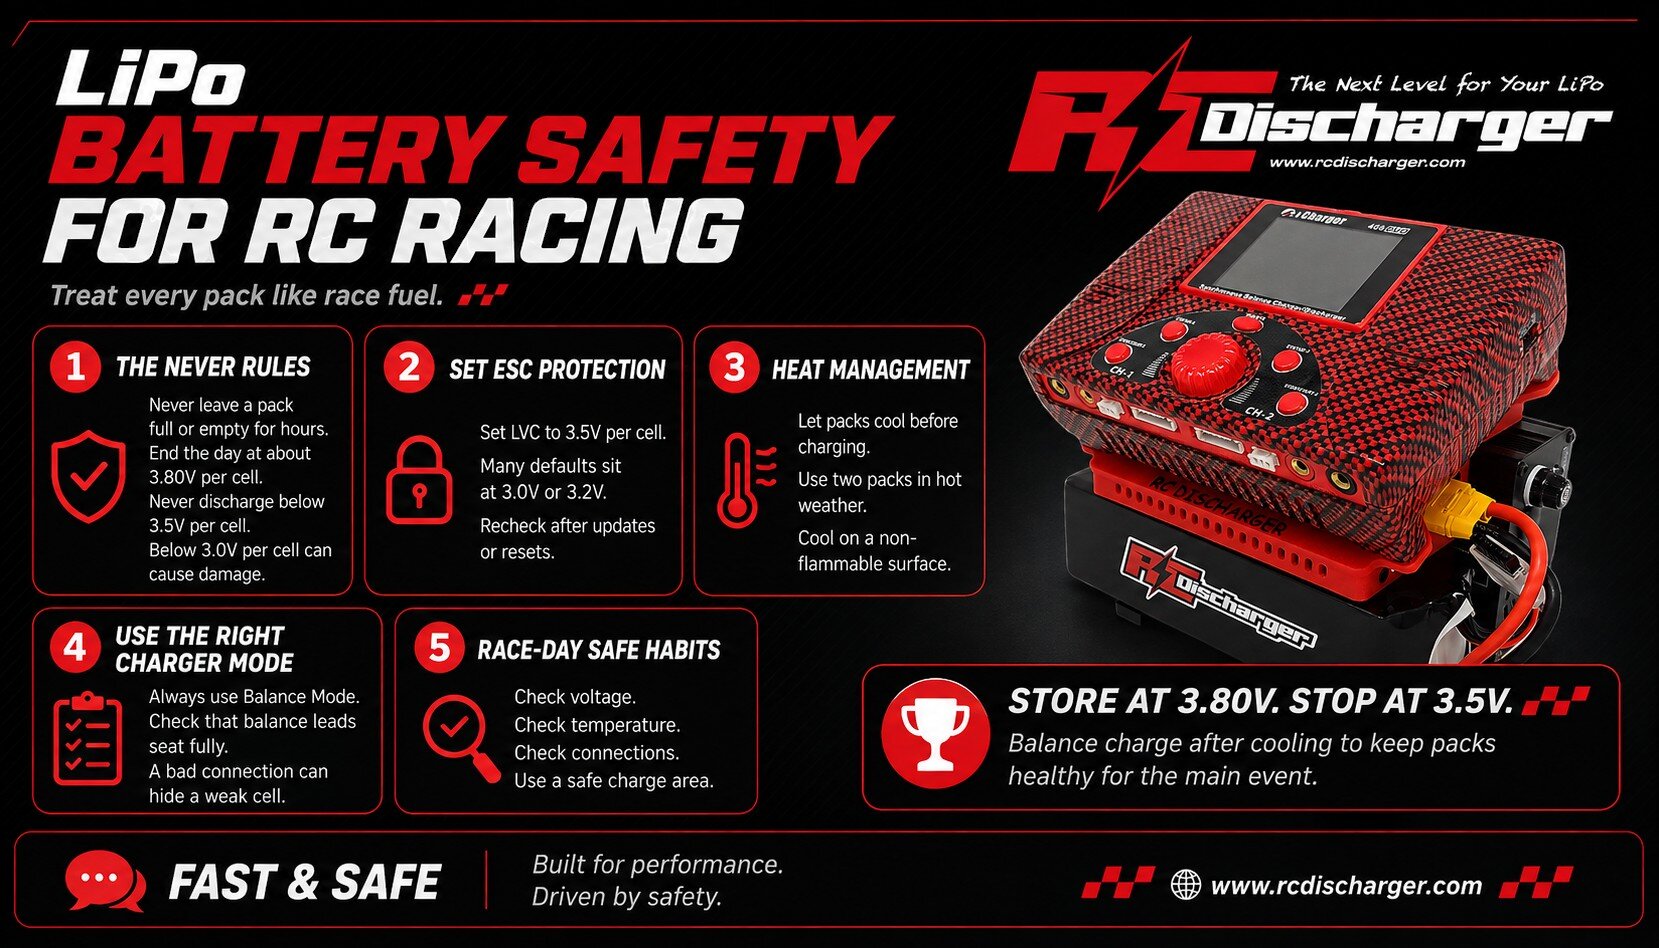
First, never leave a battery full or empty for more than a few hours. Instead, keep packs in a safe voltage window between sessions. Consequently, you slow chemical stress and keep punch longer.

  1. Never leave a battery 100% full or “empty” for more than a few hours.
  • The safe window: Charge a pack only when you plan to run soon.
  • The danger zone: However, avoid leaving it full if you will not race today.
  • The solution: Therefore, end every track day with Storage Mode near 3.80V per cell.

Second, never discharge below 3.5V per cell. Accordingly, you avoid deep discharge that harms the chemistry. Also, you reduce the odds of a weak cell later.

blank

  1. Never discharge below 3.5V per cell.
  • Specifically, dropping below 3.0V per cell can cause permanent damage.
  • Fire risk: Moreover, do not force-charge a pack that you drained too low.

Set ESC protection before you race

Next, do not guess when to pull off the track. Instead, set your ESC to protect the pack every run. Also, re-check settings after firmware updates or resets. Otherwise, a default cutoff may drop too low.

  • Set your Low Voltage Cutoff (LVC): Open your ESC programming menu.
  • The target: Set cutoff to 3.5V per cell.
  • The warning: However, many defaults sit at 3.0V or 3.2V per cell.
  • The result: Therefore, a 3.5V setting keeps you in the safe zone.

Heat management and smart cycling

Heat drives most failures. Therefore, plan your battery rotation around ambient temperature and cooldown time. Meanwhile, check pack temperature after long mains. Then, wait until the pack feels cool before you charge.

  • Standard weather: Generally, you can cycle one pack all day per car.
  • Hot weather: Meanwhile, alternate between two packs so each one cools fully.
  • The golden rule: Above all, never charge a battery while it feels warm.

Also, place packs on a non-flammable surface during cooldown. For example, a ceramic tile helps reduce risk in crowded pits. Additionally, keep packs away from solvents, fuel, and loose metal tools.

Use the right charger mode every time

Using the wrong mode causes many pit fires. Therefore, choose settings that keep every cell within limits. Additionally, confirm the balance lead seats fully before you start. Consequently, you avoid a bad connection that hides a weak cell.

  • The trap: On many chargers, “Charge” mode may skip balancing.
  • The fix: Consequently, use Balance Mode for LiPo packs.
  • Also: Set the correct cell count and charge rate before you press start.

Finally, learn the basics of lithium polymer battery chemistry and risks so you spot problems early. Moreover, inspect packs after every run for swelling, nicks, or loose wires. If you see damage, then retire the pack and store it safely.

Ultimately, LiPo battery safety improves when you store near 3.80V per cell, stop at 3.5V per cell, and balance charge after cooling. Thus, you protect performance and extend pack life.

C Rating Explained for RC Charging

C Rating Explained: RC Charge Math

C Rating Explained gives you a simple way to charge safely and keep packs strong. First, match charge amps to your pack capacity. Moreover, the label numbers often look confusing. However, the math stays easy once you run one example. Therefore, you protect cell health, limit heat, and keep performance consistent.

What a C rating tells you

Specifically, 1C equals one times your battery capacity in amps. For example, a 5000mAh pack equals 5.0A at 1C. Similarly, higher C values raise the allowed charge current. However, always follow the limit printed by the pack maker. In addition, use common sense when packs feel hot.

  • 1C = 1× capacity, so you get a standard safe charge rate.
  • 2C = 2× capacity, so you finish sooner.
  • 5C = 5× capacity, so quality race packs charge very fast.

Notably, faster charging can raise heat and stress. Therefore, check pack temperature during the first minutes. Also, stop and cool the pack if temperature climbs quickly. Additionally, use a quality charger, short leads, and tight connectors.

How to calculate charge amps

blank

First, convert milliamp-hours to amps. Then, multiply by the C rate you want. Consequently, you get the correct charger current setting. In fact, this one step prevents most charging mistakes.

  • Formula: mAh ÷ 1000 = Amps

Example: 5000mAh becomes 5.0A. Therefore, 1C equals 5.0A, and 2C equals 10.0A. Similarly, 5C equals 25.0A if your pack allows it.

  • 1C charge rate: 5.0A (5.0 × 1)
  • 2C charge rate: 10.0A (5.0 × 2)
  • 5C charge rate: 25.0A (5.0 × 5)

Additionally, 4400mAh equals 4.4A. Thus, 1C equals 4.4A and 2C equals 8.8A. For extra background, you can review lithium polymer battery charging basics. Moreover, that overview explains why heat control matters.

What 1S2P means in race packs

Next, you may see 1S2P on 1/12 or GT12 packs. Although it looks technical, it simply describes internal wiring. Consequently, it tells you how voltage and capacity behave. Also, it helps you set your charger correctly.

  • 1S (series): sets voltage, so it matches one cell (3.7V nominal, 4.2V max).
  • 2P (parallel): sets capacity, so two cells share the load side by side.

Importantly, parallel wiring doubles capacity and lowers internal resistance. As a result, you often get more runtime and stronger punch. However, voltage stays the same as a normal 1S pack. Therefore, charge it like one larger 1S battery and base amps on total label capacity.

  • Voltage setup: set your charger to 1S (4.20V max).
  • Amps setup: calculate C from the total capacity on the label.

Finally, C Rating Explained helps you choose amps with confidence. Moreover, that simple habit supports longer pack life and steadier on-track performance.

https://www.rcdischarger.com/wp-content/uploads/2026/02/ChatGPT-Image-Aug-1-2026-03_57_36-AM-2.png

RC Discharger