iCharger SD card update: no Windows needed
iCharger SD card update keeps firmware installs simple, even without Windows or USB drivers. Moreover, you can update at home, at the track, or on a Mac. Therefore, a pre-loaded Micro SD card helps you keep your pit routine fast. First, confirm your iCharger model and choose the matching steps below. Next, follow the order exactly to avoid a failed flash. Finally, set aside a few quiet minutes so you can focus.
Before you start
First, power the charger off before you insert the Micro SD card. Also, use a stable power source so the charger never resets mid-flash. In addition, press buttons firmly and keep the timing consistent. Consequently, the charger enters Boot mode and reads firmware from the card. For background, SD cards store data in flash memory for many devices. You can review Secure Digital card standards and formats for helpful context.
Procedure A: 456DUO, 458DUO, and 4512 series
Recommended firmware: v1.19
- Insert: Plug the RC Discharger Micro SD Card into your charger slot.
- The combo: Press and hold KNOB + STATUS-2 + STOP-2.
- Power up: While holding the buttons, power on the charger.
- Release: As soon as the screen changes and shows “Boot”, release the buttons.
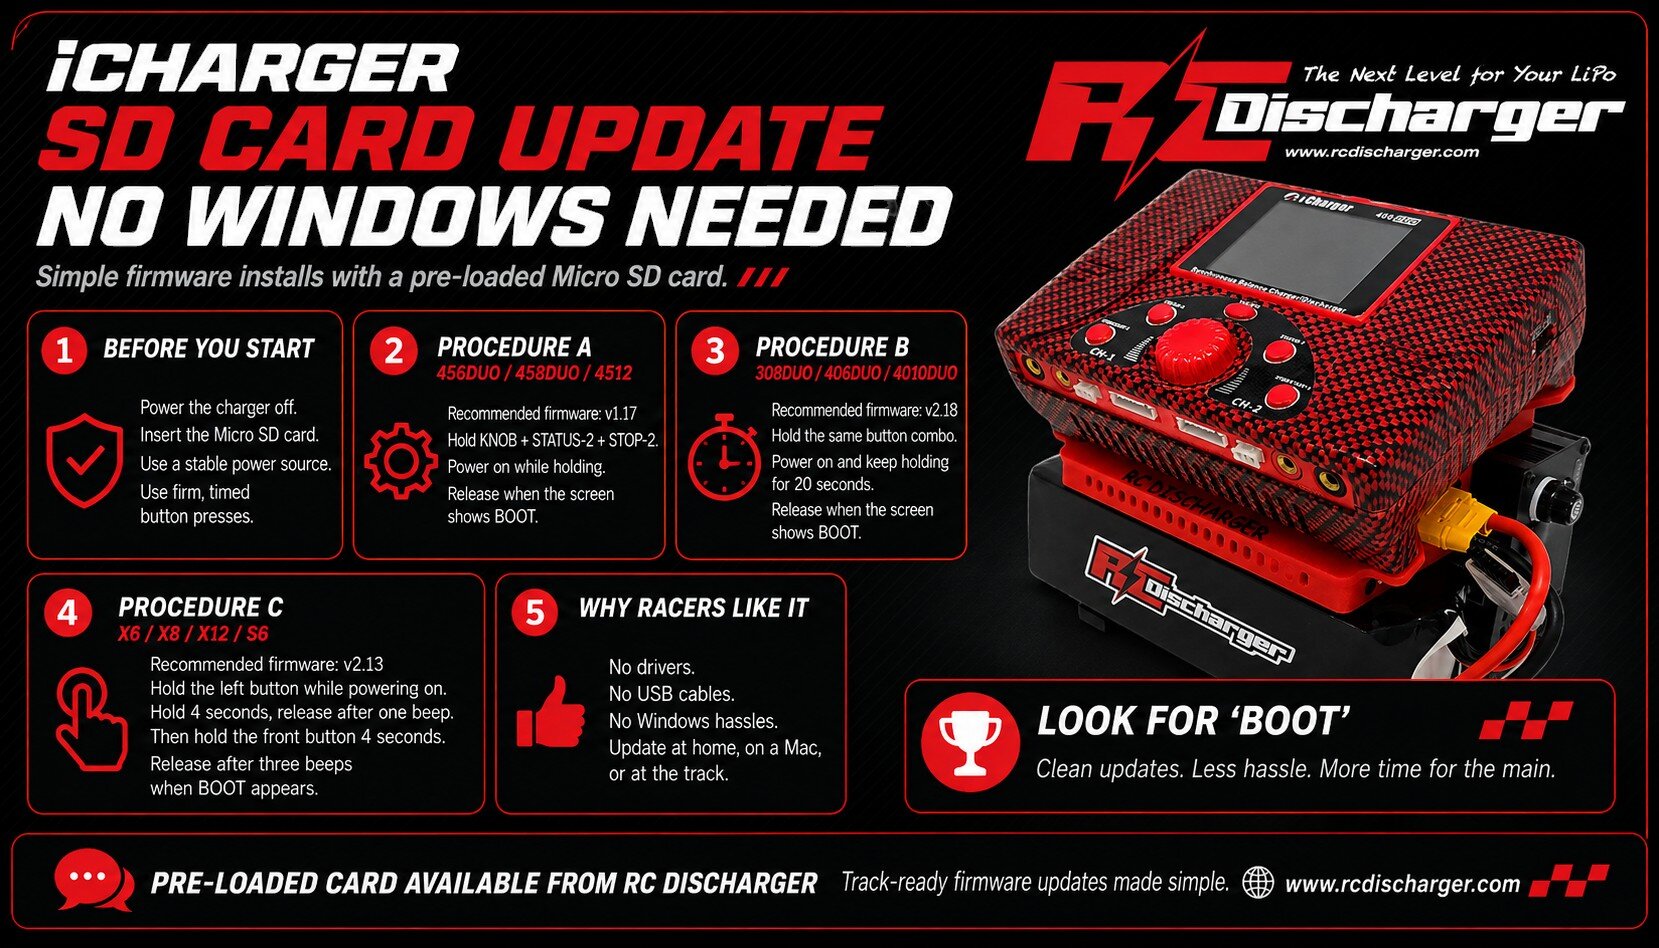
Procedure B: 308DUO, 406DUO, and 4010DUO
Recommended firmware: v2.18
- Insert: Plug the RC Discharger Micro SD Card into your charger slot.
- The combo: Press and hold KNOB + STATUS-2 + STOP-2.
- Power & wait: While holding the buttons, power on the charger. Then keep holding for 20 seconds.
- Release: After 20 seconds, when the screen shows “Boot”, release the buttons.
Procedure C: X6, X8, X12, and S6
Recommended firmware: v2.13
- Insert: Plug the RC Discharger Micro SD Card into your charger slot.
- Press: Press and hold the button to the left.
- Power up: While holding the button, power on the charger. Then hold for 4 seconds, and release after one beep.
- Press: Next, press and hold the button toward you for 4 seconds.
- Release: After three beeps, the charger enters “Boot” mode. Then release the button.
Troubleshooting for a clean flash
However, if you do not see “Boot,” start over and re-check the button timing. Also, confirm you fully seat the Micro SD card in the slot. Additionally, use a known-good power supply so voltage stays steady. Meanwhile, if the charger restarts during the process, stop and fix the power issue first. Then repeat the steps from the beginning. As a result, you reduce the risk of a corrupted firmware load.
Get race-ready now
Now you can finish an iCharger SD card update with no drivers, no cables, and no Windows hassles. Additionally, fresh firmware helps you stay consistent through long mains and busy race weekends. Ultimately, a clean update process saves time when every round counts. In addition, the pre-loaded card removes guesswork, so you spend less time in the pits.
Get your pre-loaded card here: iCharger Firmware Update Micro SD Card | RC Discharger