
Resistor bank setup for iCharger

Resistor bank setup for iCharger DUO

Resistor bank setup starts with correct wiring and the right menu choices on your iCharger DUO. Therefore, you get repeatable 40A pulls and cleaner battery data. Moreover, you gain better punch and more consistency on race day.

First, use this method on iCharger DUO models like 308DUO, 406DUO, 4010DUO, 456DUO, 458DUO, and 4512DUO. Next, plan your bench for airflow and safe cable routing. Consequently, you avoid heat soak and reduce voltage drop during high current runs.

Step-by-step configuration for 40A

Before you start, confirm your firmware version and match balance leads to your pack type. Additionally, place the resistor bank where it can shed heat away from your batteries. Then, follow these steps in order for stable results.

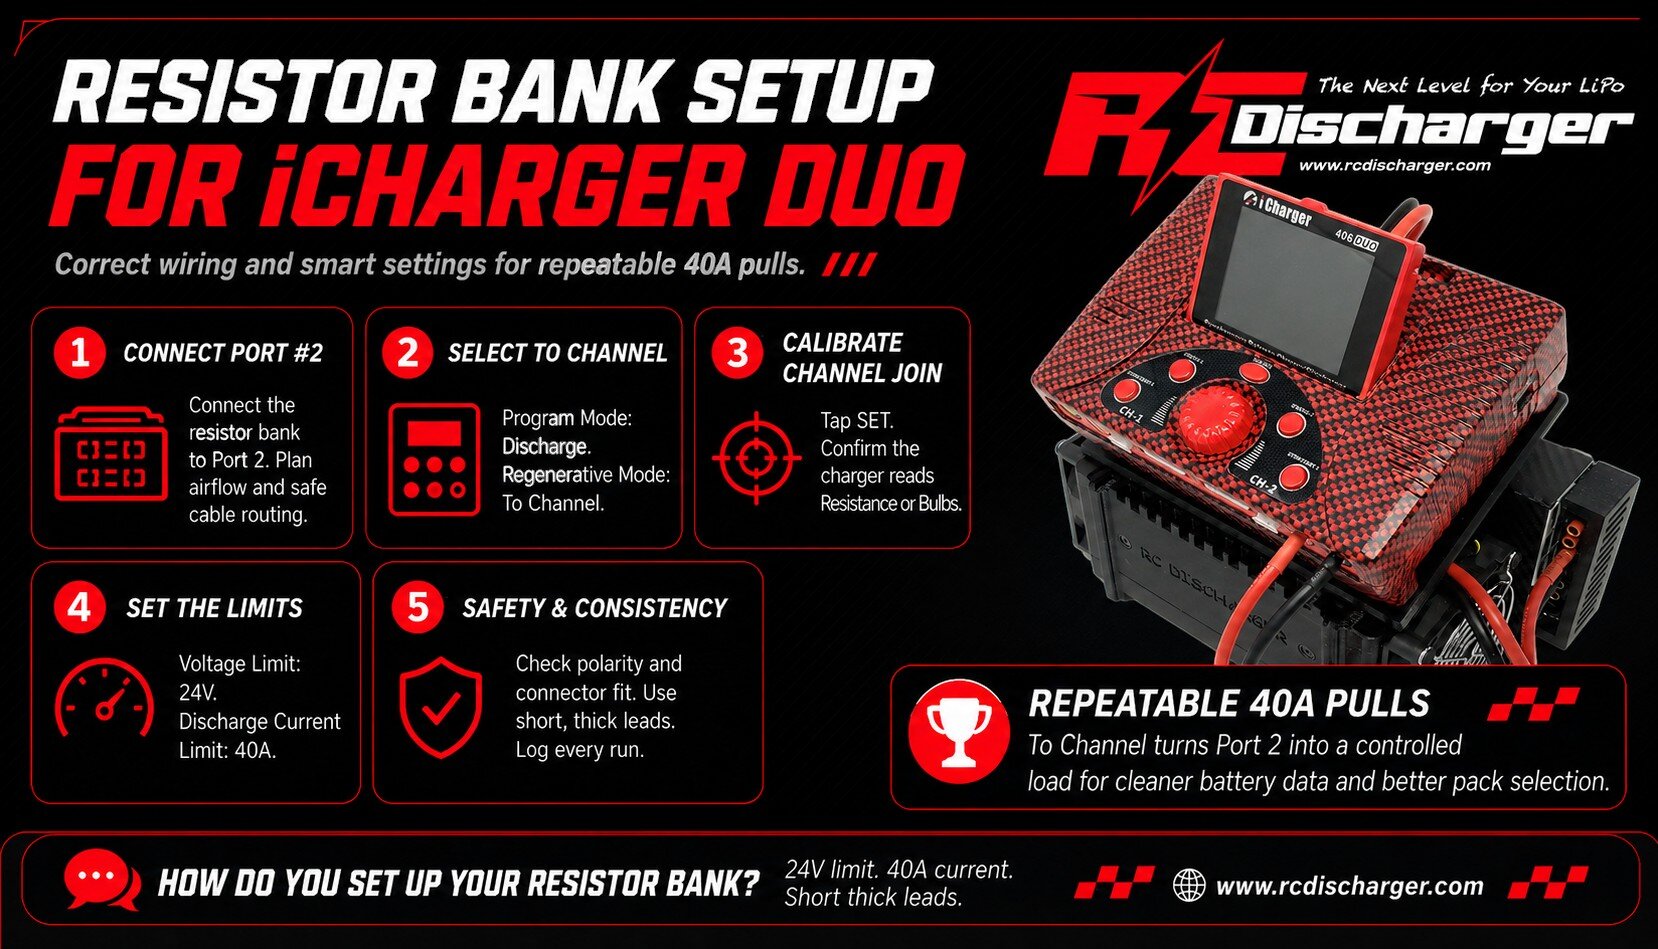
  1. Physical connection: Connect your resistor bank to Port #2 of your iCharger DUO.
  2. Program mode: Open the menu and select Discharge under Program Mode.
  3. Regenerative mode: Scroll to Regenerative Mode and choose To Channel. As a result, the charger routes energy into the resistor bank on the other port.
  4. Calibrate (Channel Join): Tap SET to calibrate. Next, under Channel Join, confirm the iCharger reads Resistance or Bulbs.
  5. Voltage limit: Set Voltage Limit to 24V.
  6. Current limit: Set Discharge Current Limit to 40 Amps.
Why these settings improve your data

When you choose To Channel, you turn Port 2 into a controlled energy sink. Consequently, Port 1 pulls higher current through your race pack without hitting low limits. Moreover, your discharge curve matches race loads more closely, so your data helps you choose better packs.

In addition, 40A pulls expose weak solder joints, tired connectors, and undersized leads quickly. Therefore, you can fix resistance sources before race day and control voltage sag. Similarly, you can compare packs with the same method and spot the one that holds voltage longer.

Safety and consistency tips

First, check polarity and connector fit before you press Start. Next, keep the resistor bank ventilated and off carpet or foam. Also, stop the run if you smell hot insulation or see unstable current.

  • Use short, thick leads: Consequently, you reduce voltage drop and heat.
  • Log your runs: Then, you can compare curves across packs and days.
  • Keep pack temperatures consistent: Therefore, your results stay fair and repeatable.

Finally, if you want deeper background on how resistors convert electrical energy into heat, review resistor electrical load behavior before long, high-amp sessions. Ultimately, Resistor bank setup helps you test smarter, tune faster, and race with more confidence.
Reference image for Port 2 resistor bank wiring

RC wire gauge guide for leads

RC wire gauge guide for charge leads

RC wire gauge guide tips help you cut heat and voltage drop in the pits. Therefore, treat wire size as a heat issue, not just an amp number. Moreover, pit temperature changes how much current your charge leads can handle. Consequently, a lead that feels fine indoors can run hot at the track.

However, many brands ship 12 AWG to save cost and space. As a result, heavy cycling and high current can expose limits fast. So, you gain consistency when you choose thicker copper early. Ultimately, better leads protect your packs, connectors, and race-day rhythm.

Heat, resistance, and lost punch

First, resistance turns current into heat, and heat steals power. For example, at 40°C (104°F), many 12 AWG setups handle about 24 A safely. Next, when you push 30 A to 40 A through warm 12 AWG, the wire heats quickly.

As a result, voltage drop rises and your pack feels softer on punch. In addition, hot leads stress solder joints and connectors. Therefore, you protect performance and reliability when you lower resistance. Likewise, cooler leads help your charger hold steadier output.

Why thicker copper matters at the track

Additionally, longer leads add resistance, so heat builds faster than you expect. Consequently, short, thick leads often feel stronger than long, thin ones. Moreover, tight bends and bundled wires trap heat around the insulation.

Therefore, route leads with airflow and avoid sharp kinks near connectors. On the other hand, a thicker gauge can feel stiff with the wrong jacket. Thus, pick flexible silicone wire so you keep easy handling. Similarly, leave enough slack so plugs do not pull on solder joints.

Why 10 AWG wins in real pit conditions

We build for racing heat, so we start with thicker copper. Specifically, we use a minimum of 10 AWG on our gear for high-current cycling. Moreover, thicker wire reduces resistance, so it runs cooler at the same current.

Consequently, your charger and discharger deliver steadier power during long sessions. Similarly, 10 AWG gives you more headroom when the pit area warms up. Thus, you avoid heat soak that steals consistency. In fact, many racers notice fewer connector issues after they move up a gauge.

Safe amp limits by wire gauge

Use this quick reference before you choose leads for your race program. Then, match the gauge to your real current and your real pit temperature. Notably, lead length, airflow, and insulation also change results.

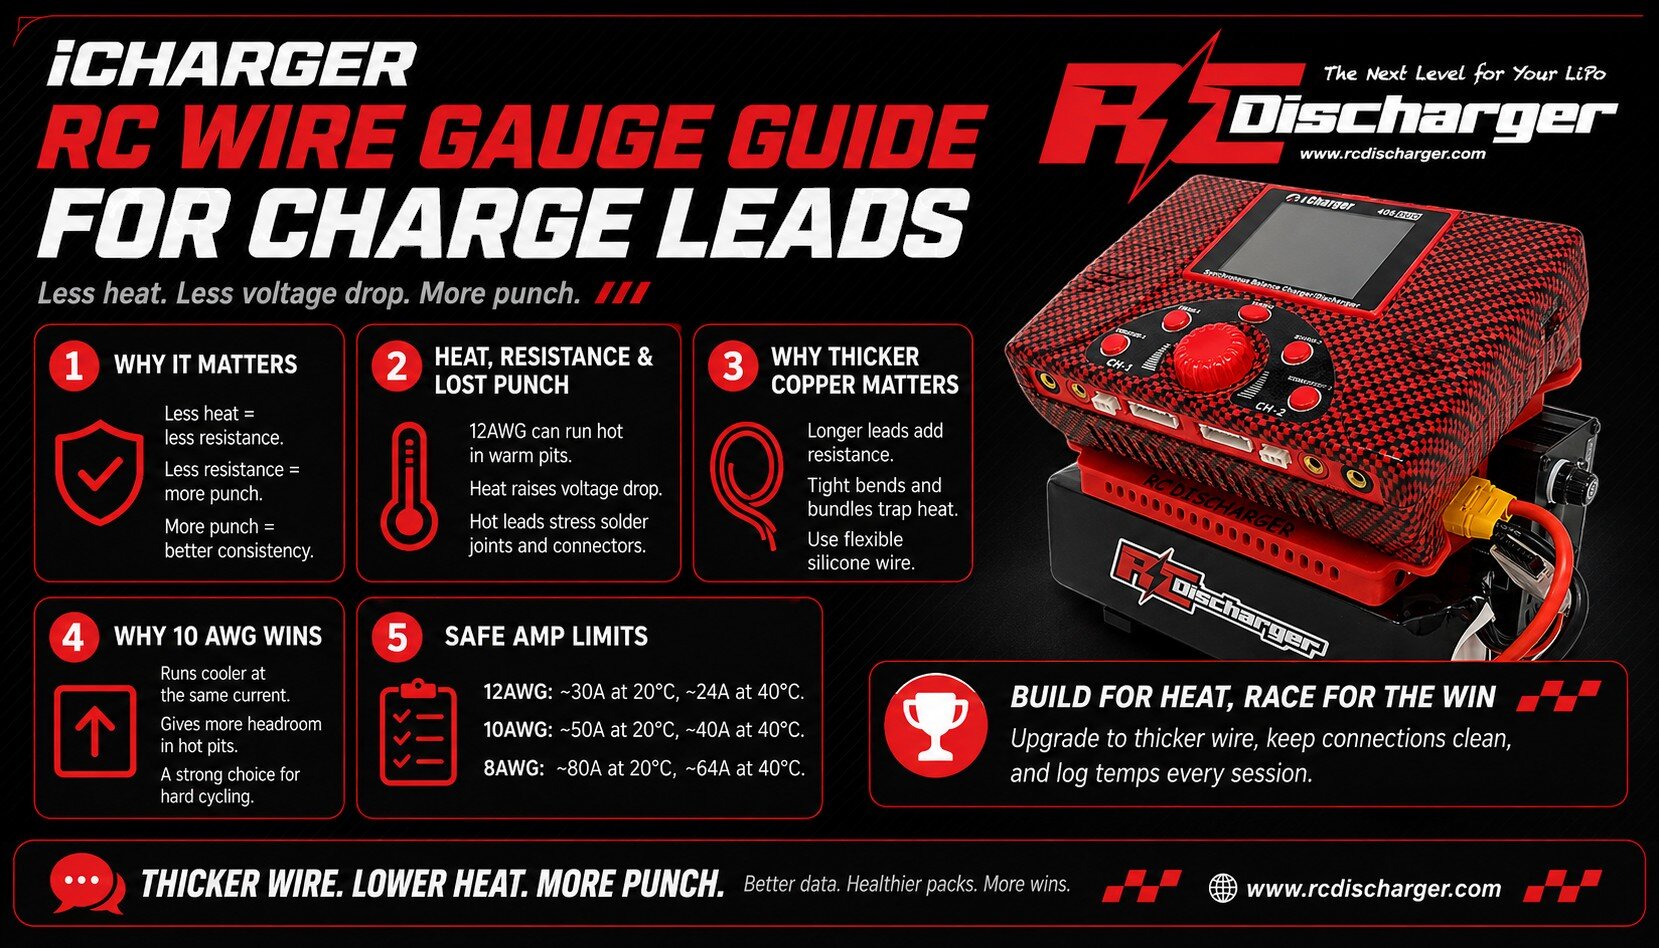
  • 12 AWG: ~30 A at 20°C (68°F), ~24 A at 40°C (104°F)
  • 10 AWG: ~50 A at 20°C (68°F), ~40 A at 40°C (104°F)
  • 8 AWG: ~80 A at 20°C (68°F), ~64 A at 40°C (104°F)

For deeper background, review American wire gauge sizing and resistance. Additionally, confirm your connector rating so the whole lead stays cool. Therefore, treat the wire, plugs, and solder as one system.

Build for the heat and race for the win

Finally, stop letting thin leads bottleneck your charging and cycling. Instead, upgrade to thicker wire to keep heat down and punch up. If you want a simple rule, choose 10 AWG when you cycle hard in summer conditions.

Get the Sensor Here: RC Charge Lead – RC Discharger

Ultimately, this RC wire gauge guide helps your pit gear stay cool, consistent, and ready for serious racing. Consequently, you spend less time troubleshooting and more time chasing lap times.

RC Discharger