Resistor bank setup for iCharger DUO
Resistor bank setup starts with correct wiring and the right menu choices on your iCharger DUO. Therefore, you get repeatable 40A pulls and cleaner battery data. Moreover, you gain better punch and more consistency on race day.
First, use this method on iCharger DUO models like 308DUO, 406DUO, 4010DUO, 456DUO, 458DUO, and 4512DUO. Next, plan your bench for airflow and safe cable routing. Consequently, you avoid heat soak and reduce voltage drop during high current runs.
Step-by-step configuration for 40A
Before you start, confirm your firmware version and match balance leads to your pack type. Additionally, place the resistor bank where it can shed heat away from your batteries. Then, follow these steps in order for stable results.
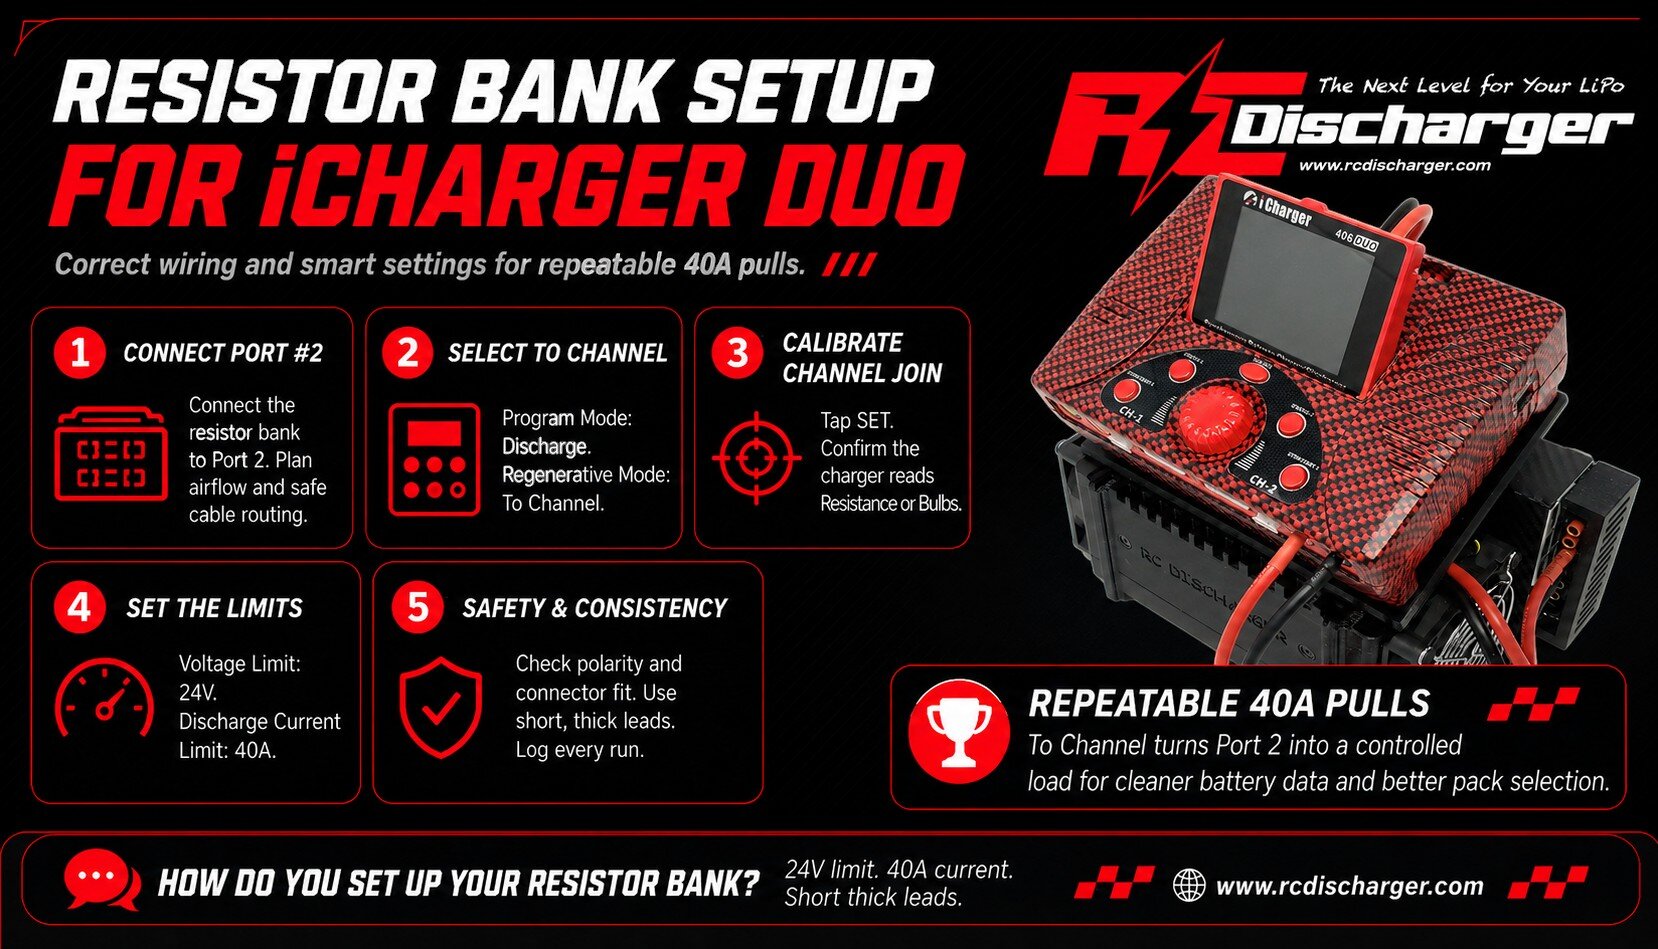
- Physical connection: Connect your resistor bank to Port #2 of your iCharger DUO.
- Program mode: Open the menu and select Discharge under Program Mode.
- Regenerative mode: Scroll to Regenerative Mode and choose To Channel. As a result, the charger routes energy into the resistor bank on the other port.
- Calibrate (Channel Join): Tap SET to calibrate. Next, under Channel Join, confirm the iCharger reads Resistance or Bulbs.
- Voltage limit: Set Voltage Limit to 24V.
- Current limit: Set Discharge Current Limit to 40 Amps.
Why these settings improve your data
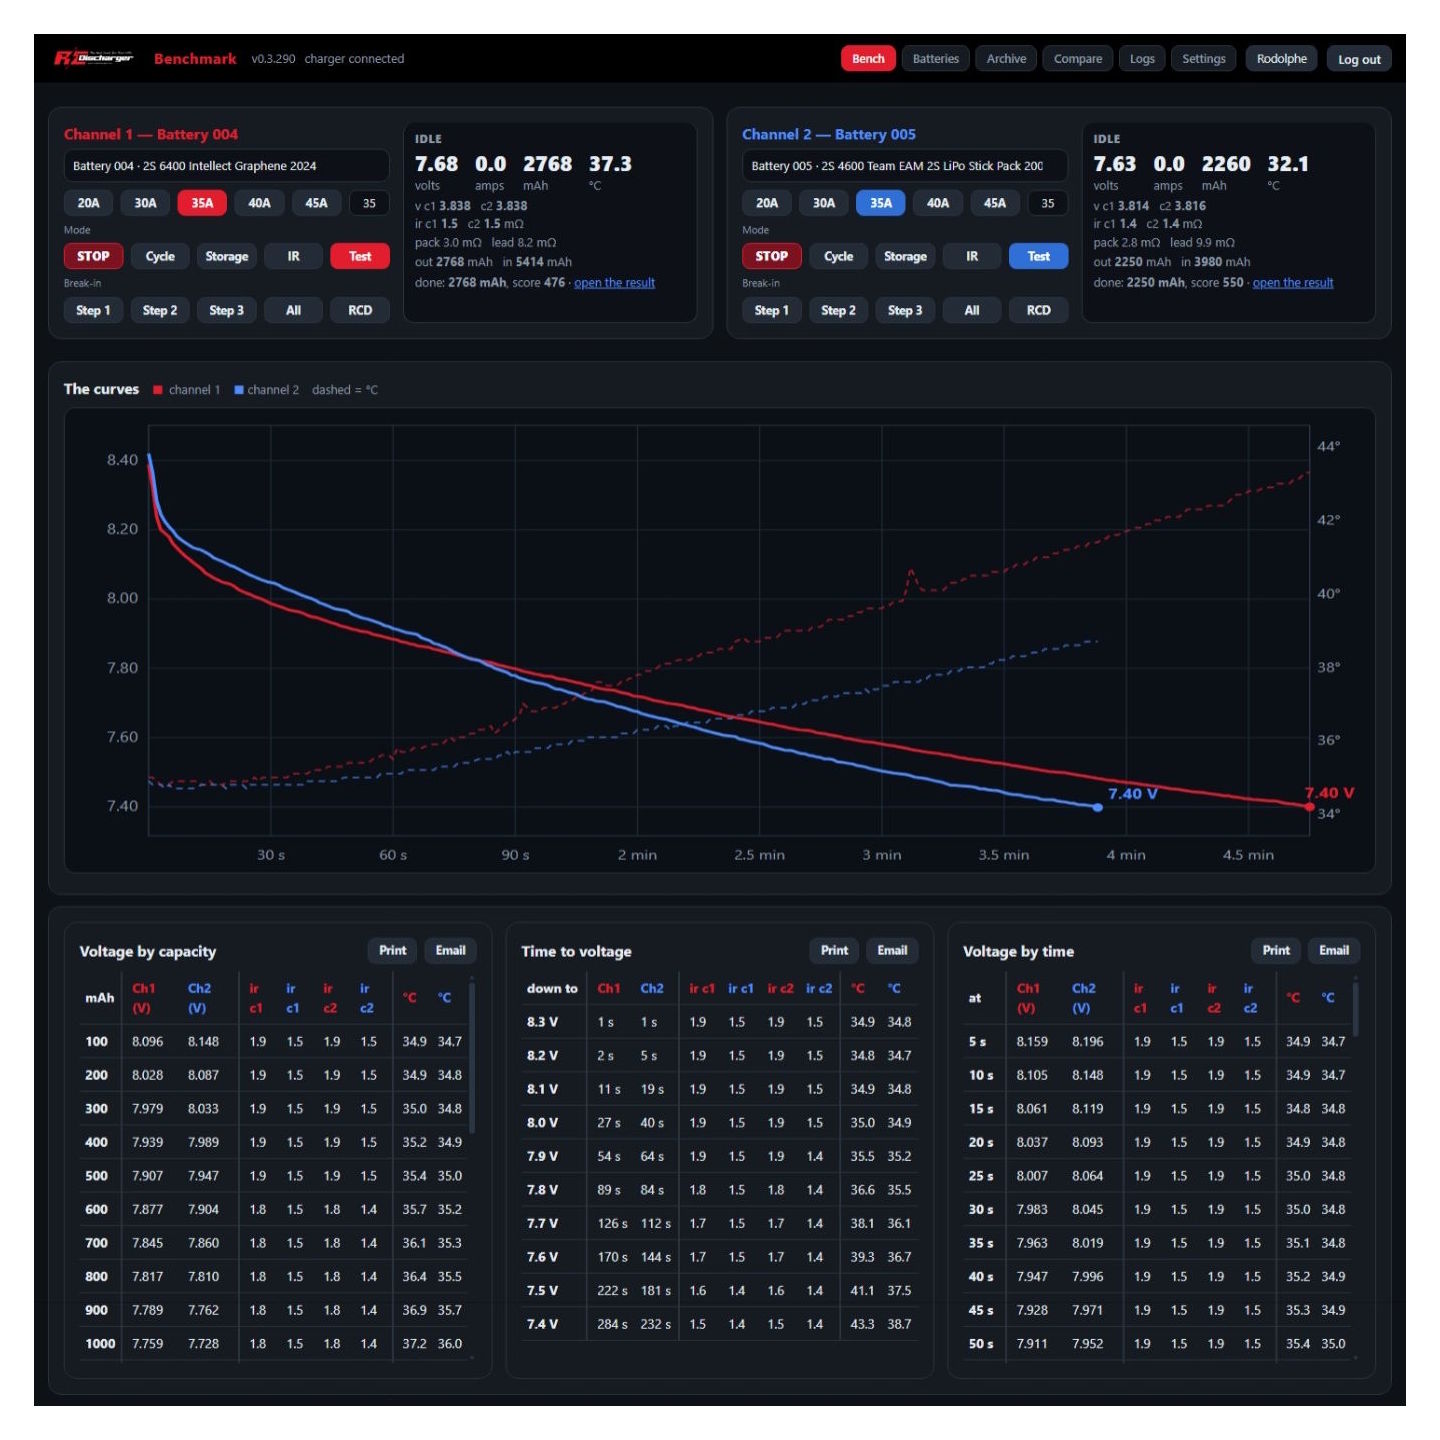
When you choose To Channel, you turn Port 2 into a controlled energy sink. Consequently, Port 1 pulls higher current through your race pack without hitting low limits. Moreover, your discharge curve matches race loads more closely, so your data helps you choose better packs.
In addition, 40A pulls expose weak solder joints, tired connectors, and undersized leads quickly. Therefore, you can fix resistance sources before race day and control voltage sag. Similarly, you can compare packs with the same method and spot the one that holds voltage longer.
Safety and consistency tips
First, check polarity and connector fit before you press Start. Next, keep the resistor bank ventilated and off carpet or foam. Also, stop the run if you smell hot insulation or see unstable current.
- Use short, thick leads: Consequently, you reduce voltage drop and heat.
- Log your runs: Then, you can compare curves across packs and days.
- Keep pack temperatures consistent: Therefore, your results stay fair and repeatable.
Finally, if you want deeper background on how resistors convert electrical energy into heat, review resistor electrical load behavior before long, high-amp sessions. Ultimately, Resistor bank setup helps you test smarter, tune faster, and race with more confidence.